

The left sidebar
When you open a chatbot, everything for that chatbot sits in the left sidebar, split into three groups: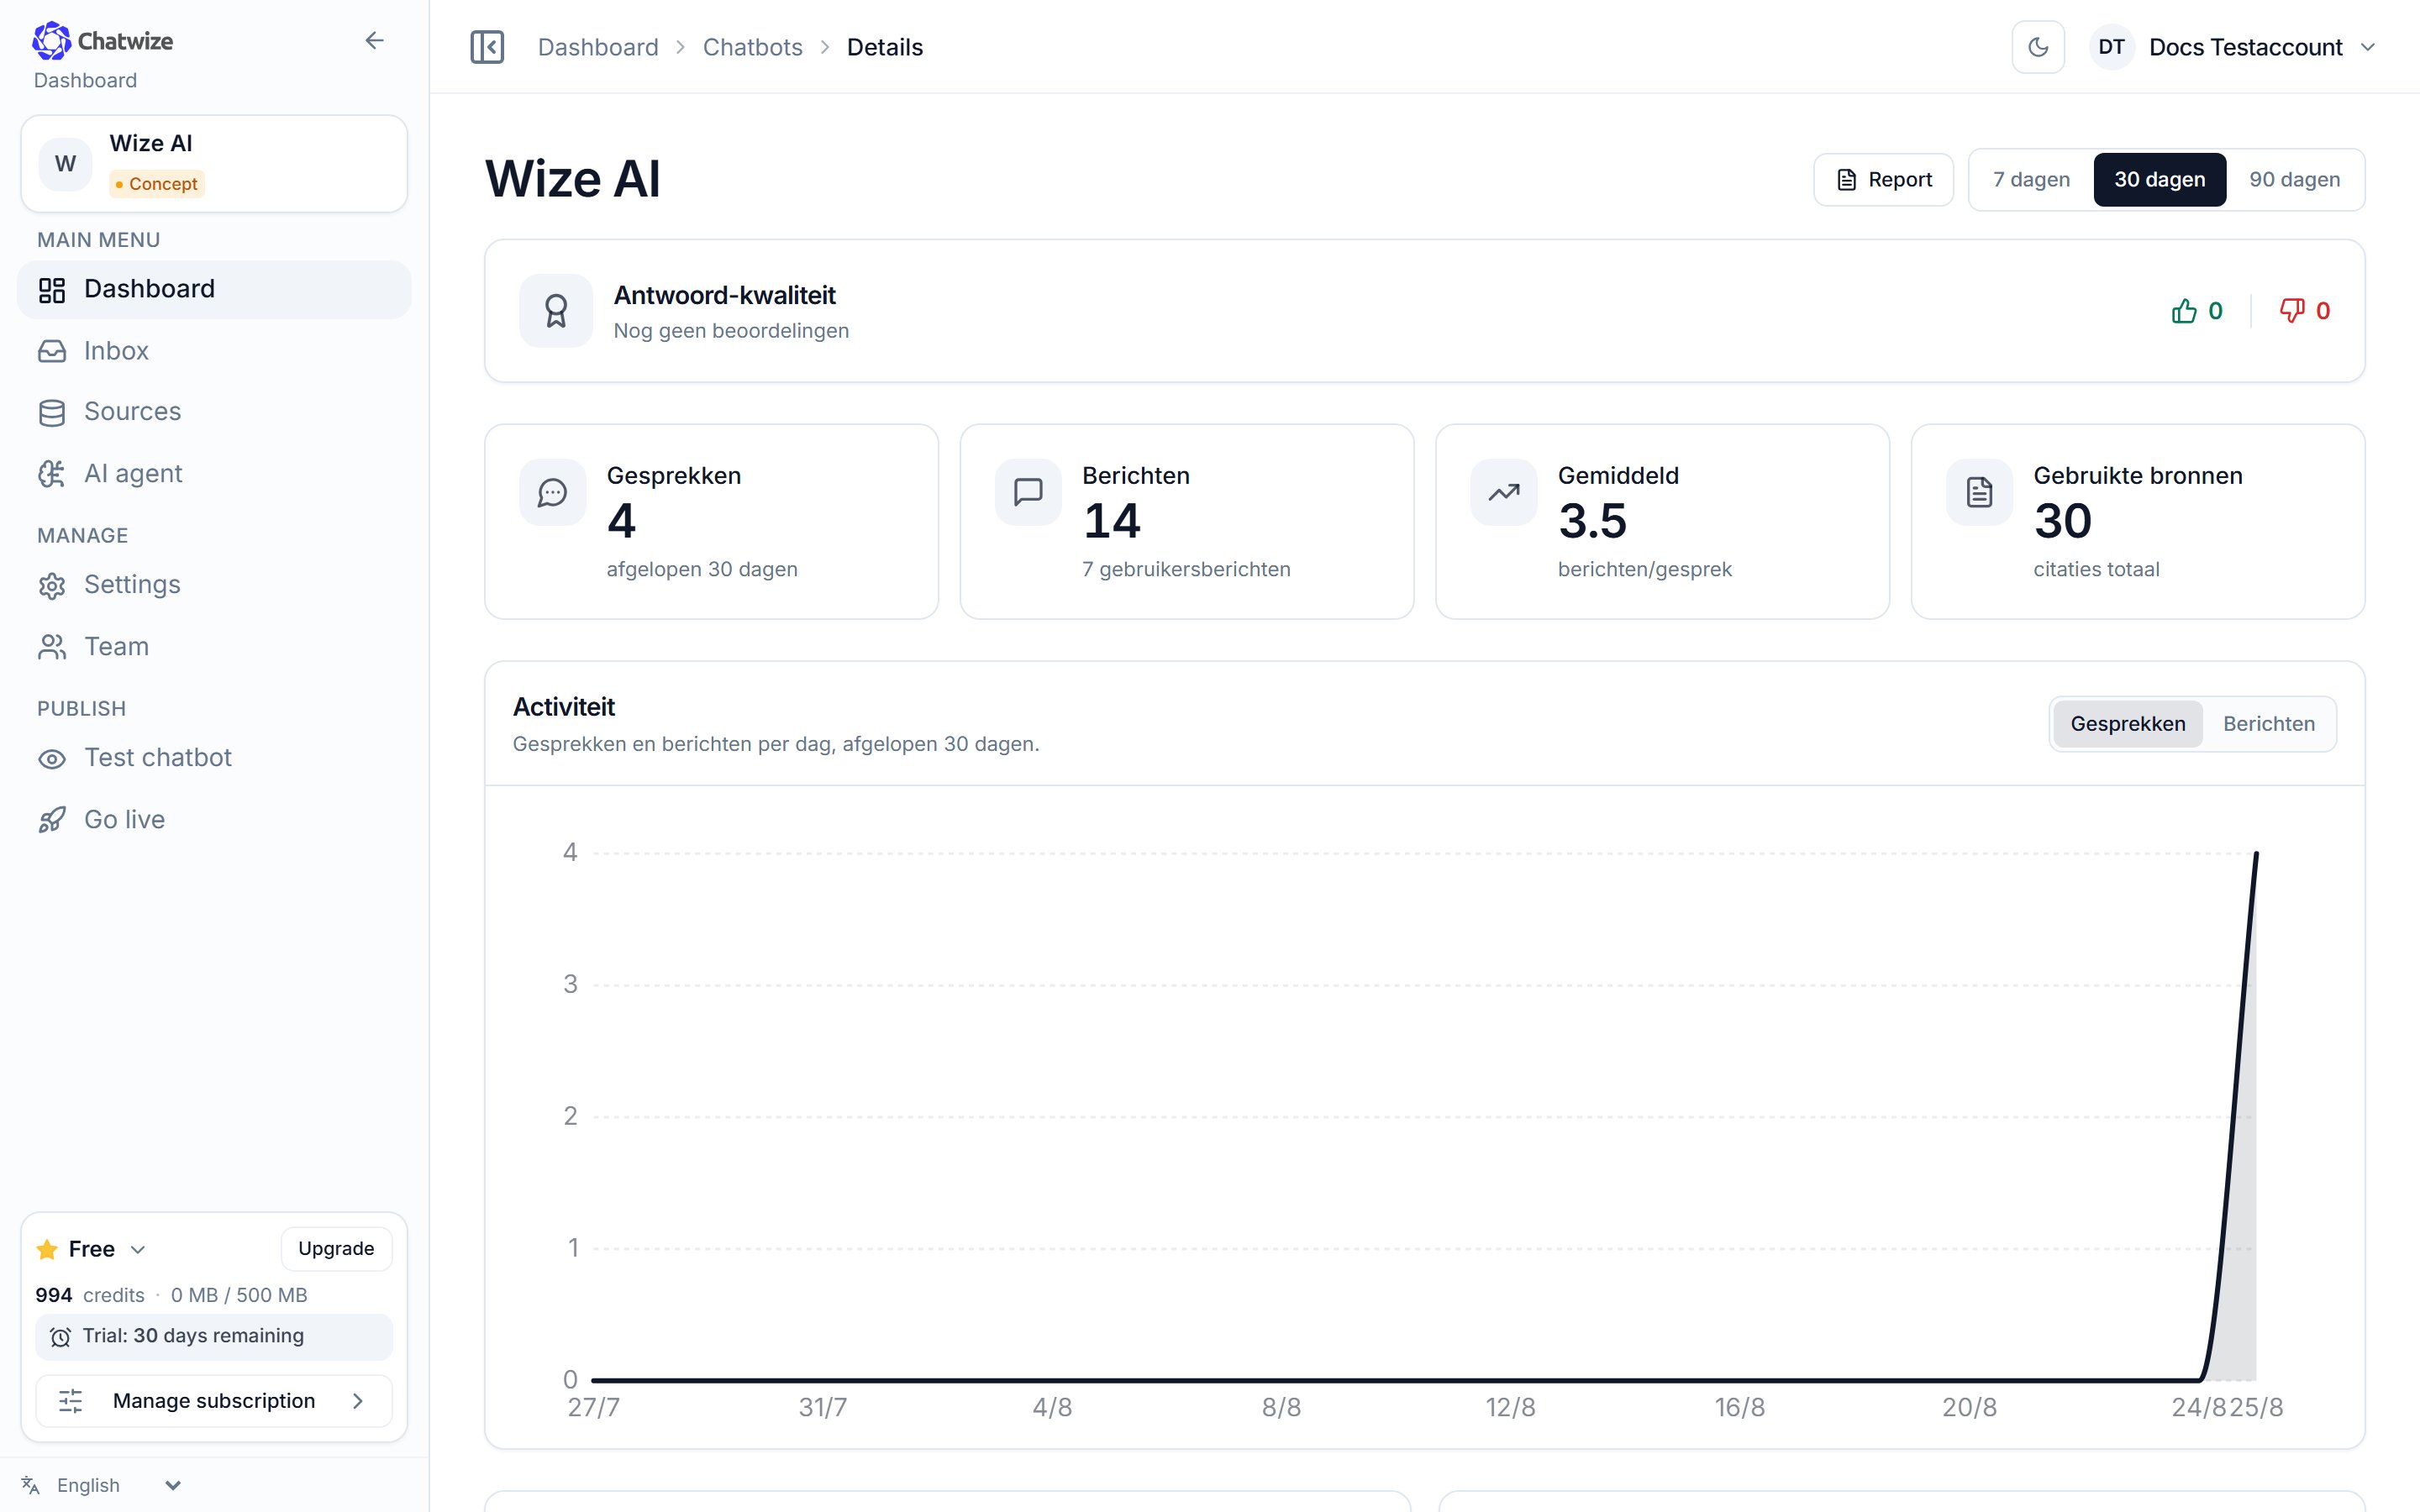
A chatbot's dashboard, with the sidebar on the left.
Parts your account has no permission for aren’t shown in the menu and can’t be
opened either. Team is admins only. At the bottom of the sidebar you’ll find
your usage and the NL/EN language switch; your workspace sits in the top right.
The Settings page
Most things you want to change live under Settings. That page is a list of sections you click to expand. Changing a setting is always two steps: open Settings → open the right section. The sections are bundled into six groups:
On the right is a live preview of the widget, so you see every change as you
make it. At the bottom a bar appears to save or discard your changes.
Say you want visitors to be able to reach a person:
1
Open Settings
In the left sidebar, under Manage, click Settings.
2
Open the right section
Scroll to the Access & management group and click Handover to a
person to expand it.