> ## Documentation Index
> Fetch the complete documentation index at: https://guidenl.chatwize.ai/llms.txt
> Use this file to discover all available pages before exploring further.
# Quickstart
> Create your first chatbot and publish it, step by step.
From an empty account to a working chatbot on your website. Follow the steps in
order.
## 1. Create a chatbot
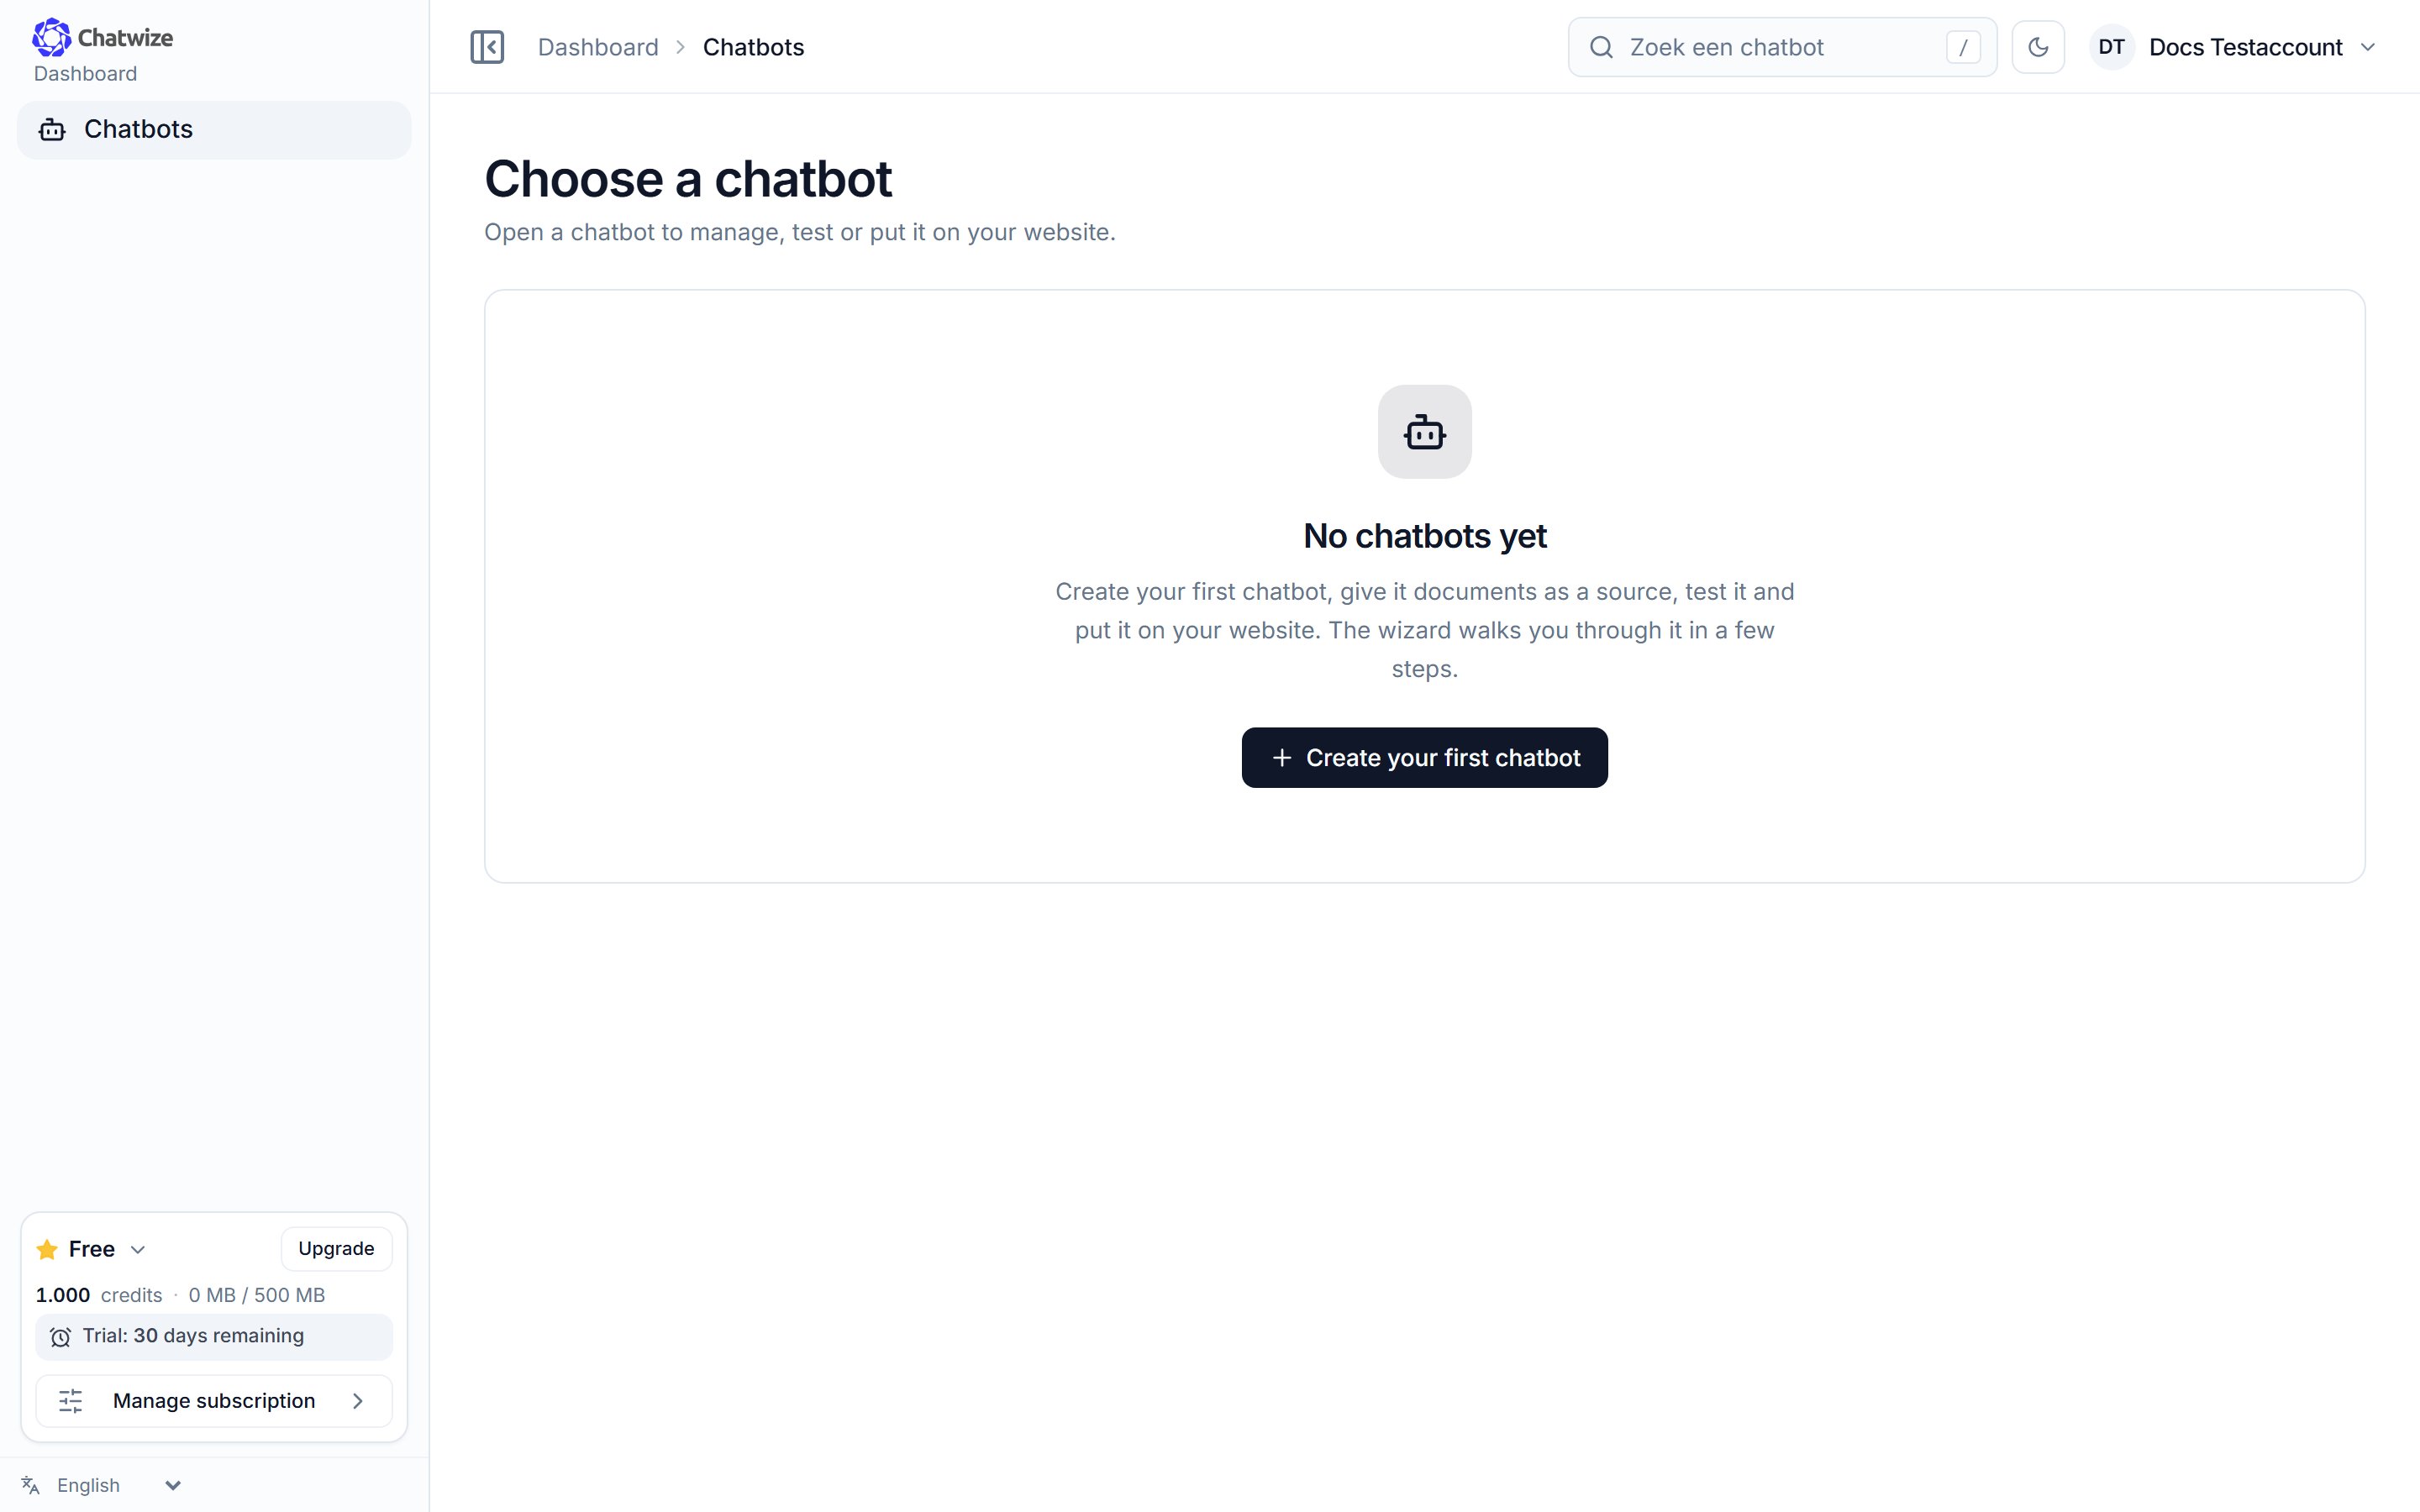
Log in at [eu.chatwize.ai](https://eu.chatwize.ai). You land on
**Chatbots**.
Click **Create your first chatbot**. If you already have one, the button reads
**New chatbot**. A three-step wizard opens.
Pick a starting template that suits your situation and click **Continue**.
The template sets the tone and the boundaries of the bot; you can change
everything later.
Fill in your **company name** and a **chatbot name** (both required). A
**contact email** is optional: it's where the bot points visitors when it
doesn't know something. Also pick the **chatbot language**: Dutch, English
or automatic.
Pick a **primary color** and the **widget position** (right or left). A
preview appears on the right. Click **Create chatbot**.
 Your new chatbot starts as a **draft** and you land on its **Dashboard**. The
first time, a short tour walks you past the main parts; you can skip it.
Everything you chose in the wizard can be changed later under **Settings**.
## 2. Add your knowledge
In the left sidebar, click **Sources**.
At the top are **Overview** and **Add**. On an empty chatbot you're already
on **Add**. The first time, you confirm the one-off terms.
Pick **File**, **Website**, **Web page**, **Sitemap** or **Questions and
answers** and follow the prompts. Sources appear under **Overview** once
they're processed.
More on this in [Knowledge base](/en/knowledge-base).
## 3. Configure it
In the left sidebar, click **Settings** for the greeting, colors and avatar (see
[Widget customization](/en/widget-customization)), and **AI agent** for the
instructions and tone (see [AI agent](/en/ai-agent)).
Use **Test chatbot** in the sidebar to try real questions before you go live.
## 4. Publish it
In the left sidebar, under **Publish**, click **Go live**.
Open **On your website**, enter your website address, click **Generate code**
and copy the snippet.
Add the code to your website. The chat bubble appears automatically.
All the detail in [Install on your site](/en/installation).
Capture names, email addresses and your own fields.
Let visitors reach your team.
Your new chatbot starts as a **draft** and you land on its **Dashboard**. The
first time, a short tour walks you past the main parts; you can skip it.
Everything you chose in the wizard can be changed later under **Settings**.
## 2. Add your knowledge
In the left sidebar, click **Sources**.
At the top are **Overview** and **Add**. On an empty chatbot you're already
on **Add**. The first time, you confirm the one-off terms.
Pick **File**, **Website**, **Web page**, **Sitemap** or **Questions and
answers** and follow the prompts. Sources appear under **Overview** once
they're processed.
More on this in [Knowledge base](/en/knowledge-base).
## 3. Configure it
In the left sidebar, click **Settings** for the greeting, colors and avatar (see
[Widget customization](/en/widget-customization)), and **AI agent** for the
instructions and tone (see [AI agent](/en/ai-agent)).
Use **Test chatbot** in the sidebar to try real questions before you go live.
## 4. Publish it
In the left sidebar, under **Publish**, click **Go live**.
Open **On your website**, enter your website address, click **Generate code**
and copy the snippet.
Add the code to your website. The chat bubble appears automatically.
All the detail in [Install on your site](/en/installation).
Capture names, email addresses and your own fields.
Let visitors reach your team.